1
Create an OAuth application in GitLab
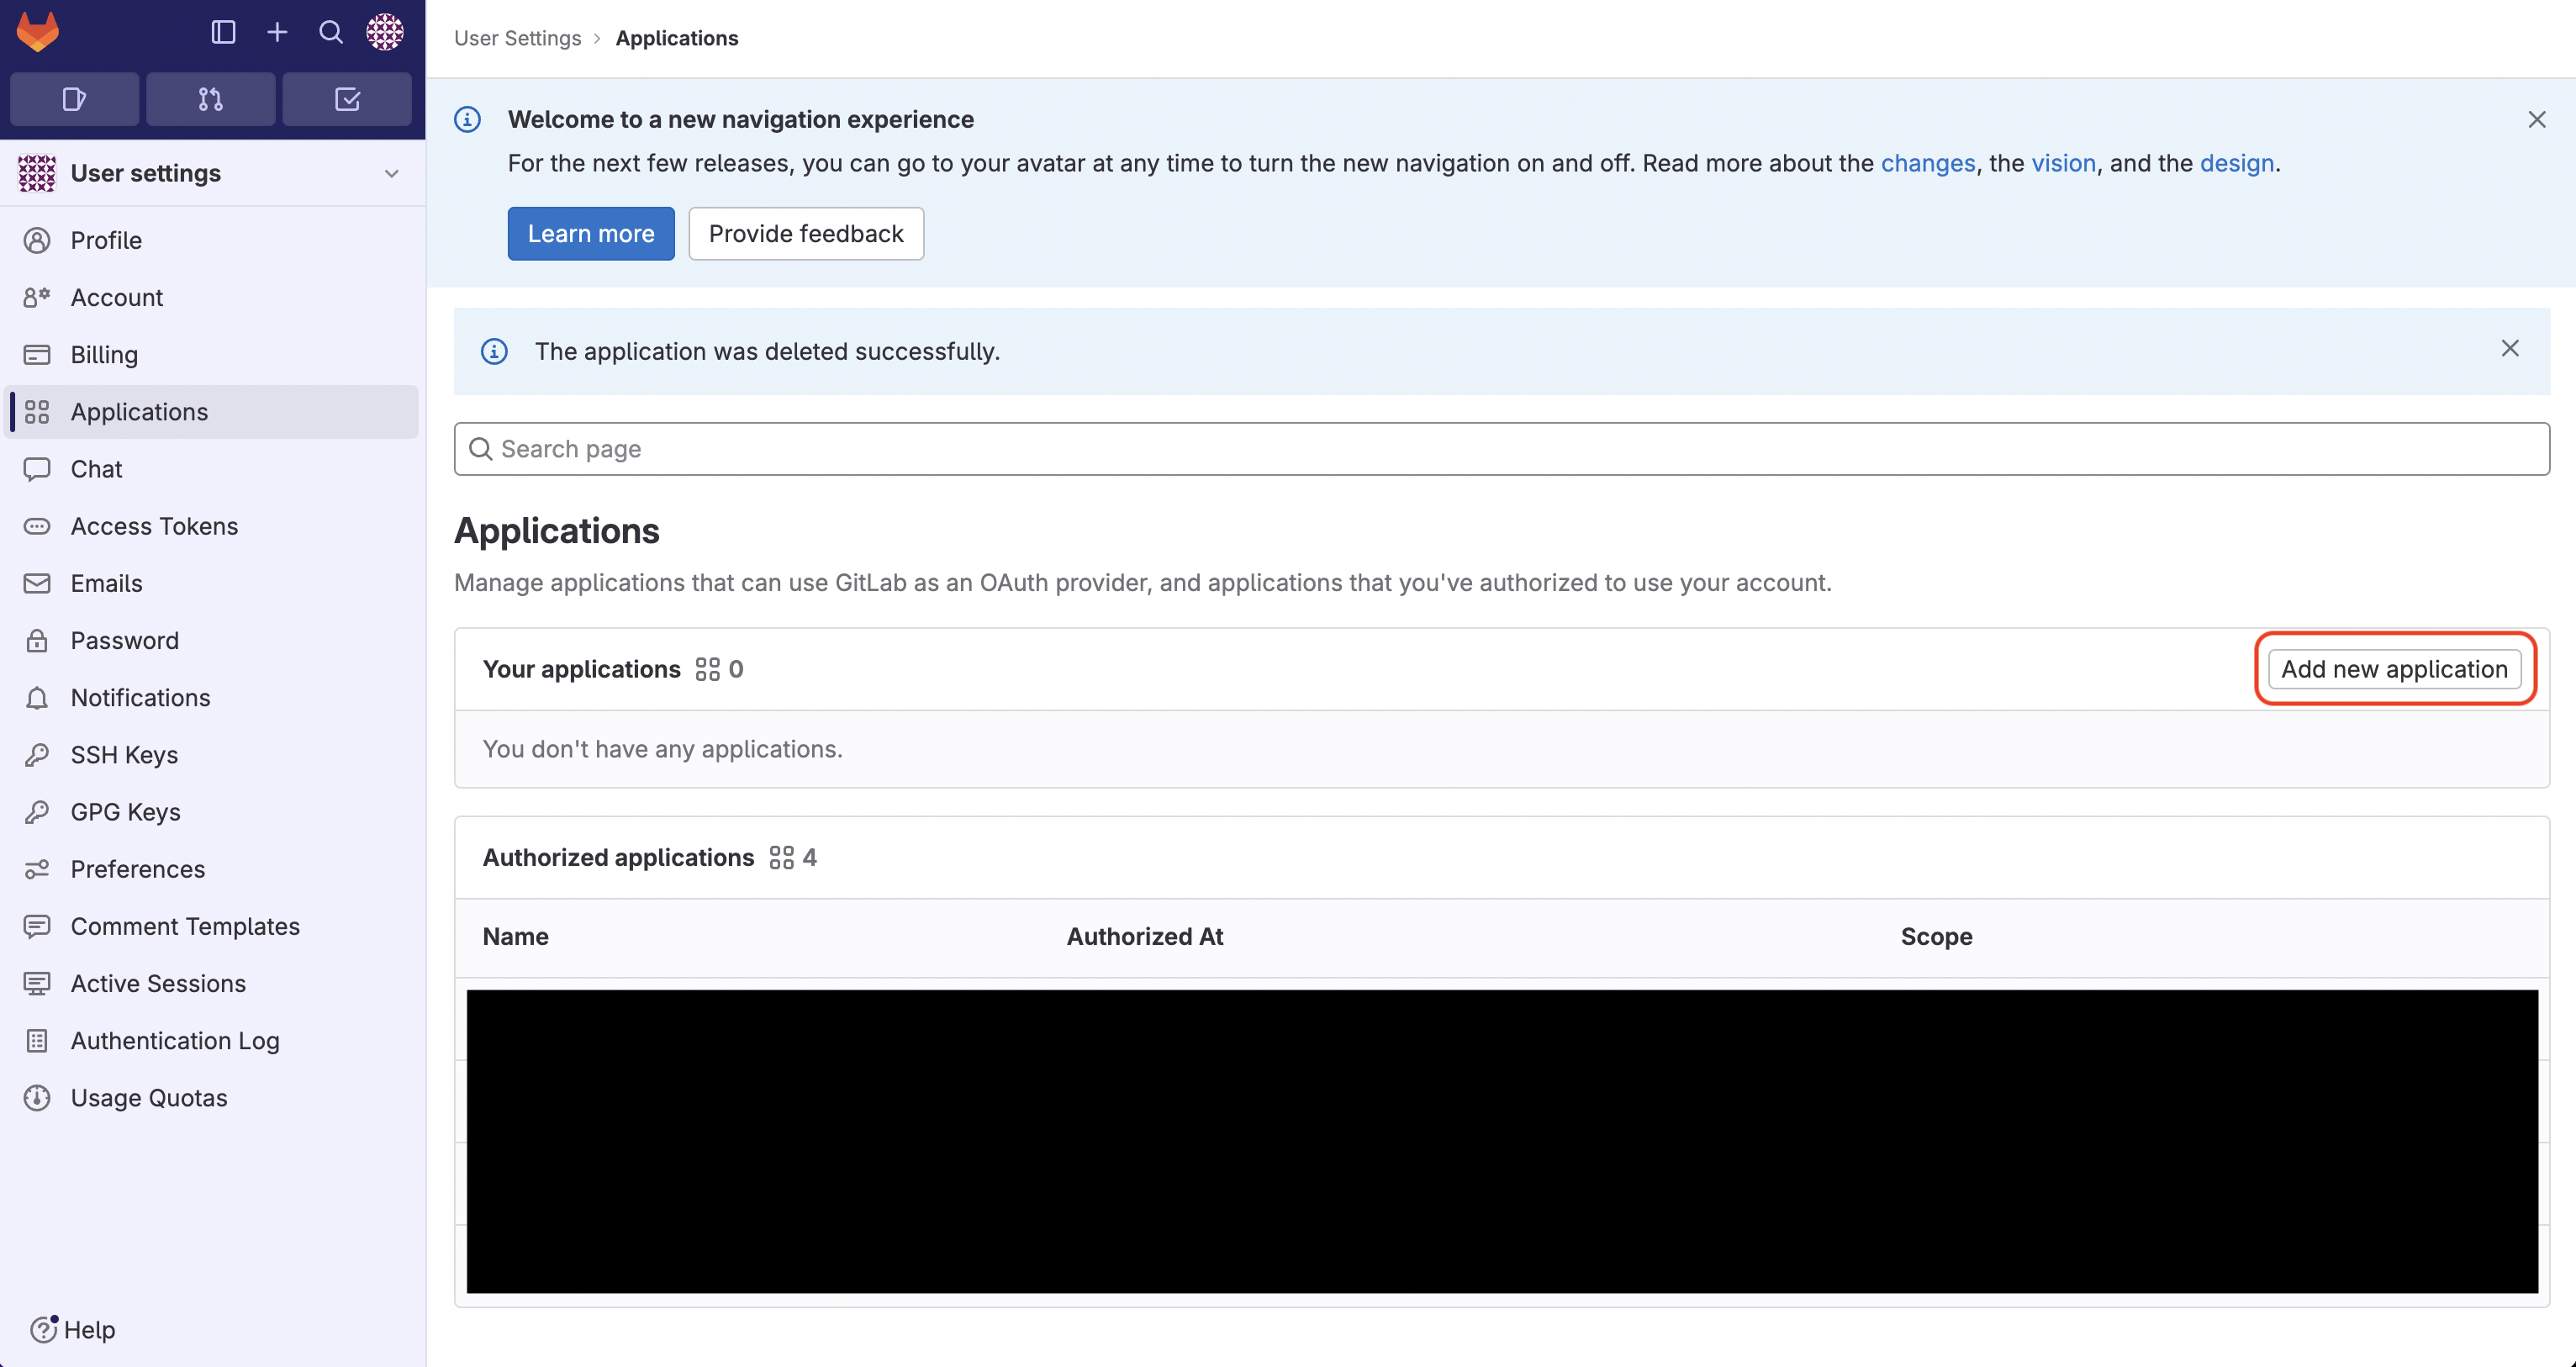
Navigate to your user Settings > Applications to create a new GitLab application.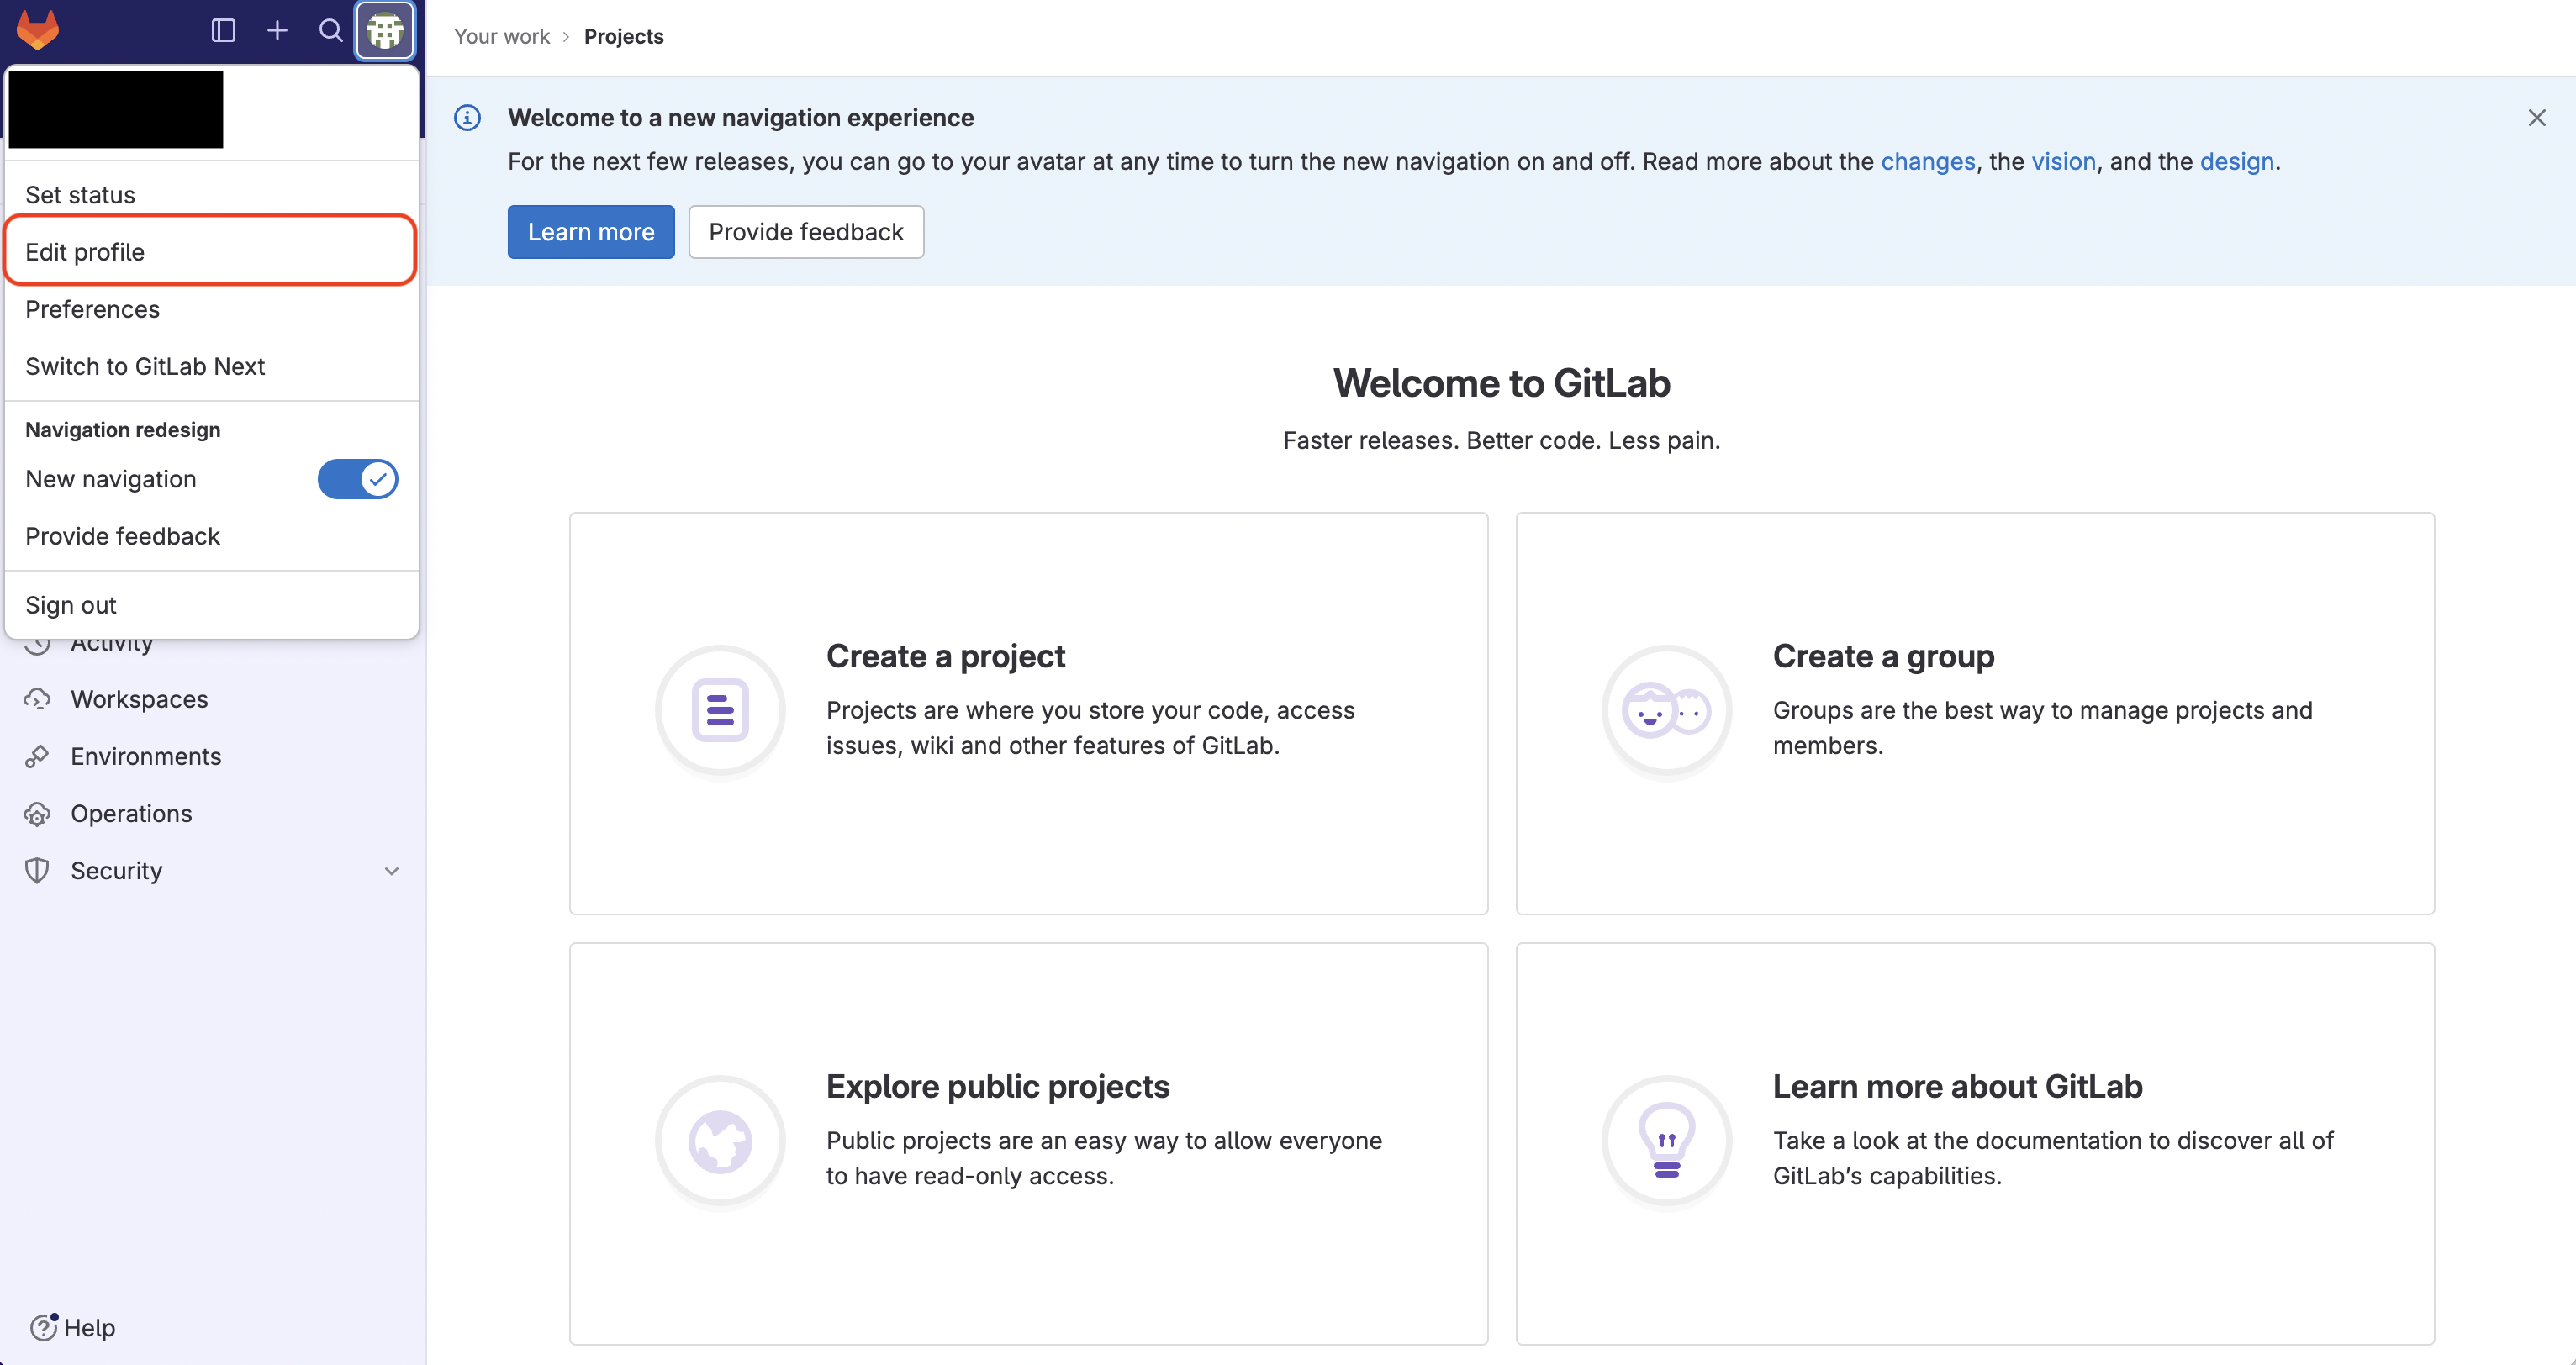
 Create the application. As part of the form, set the Redirect URI to
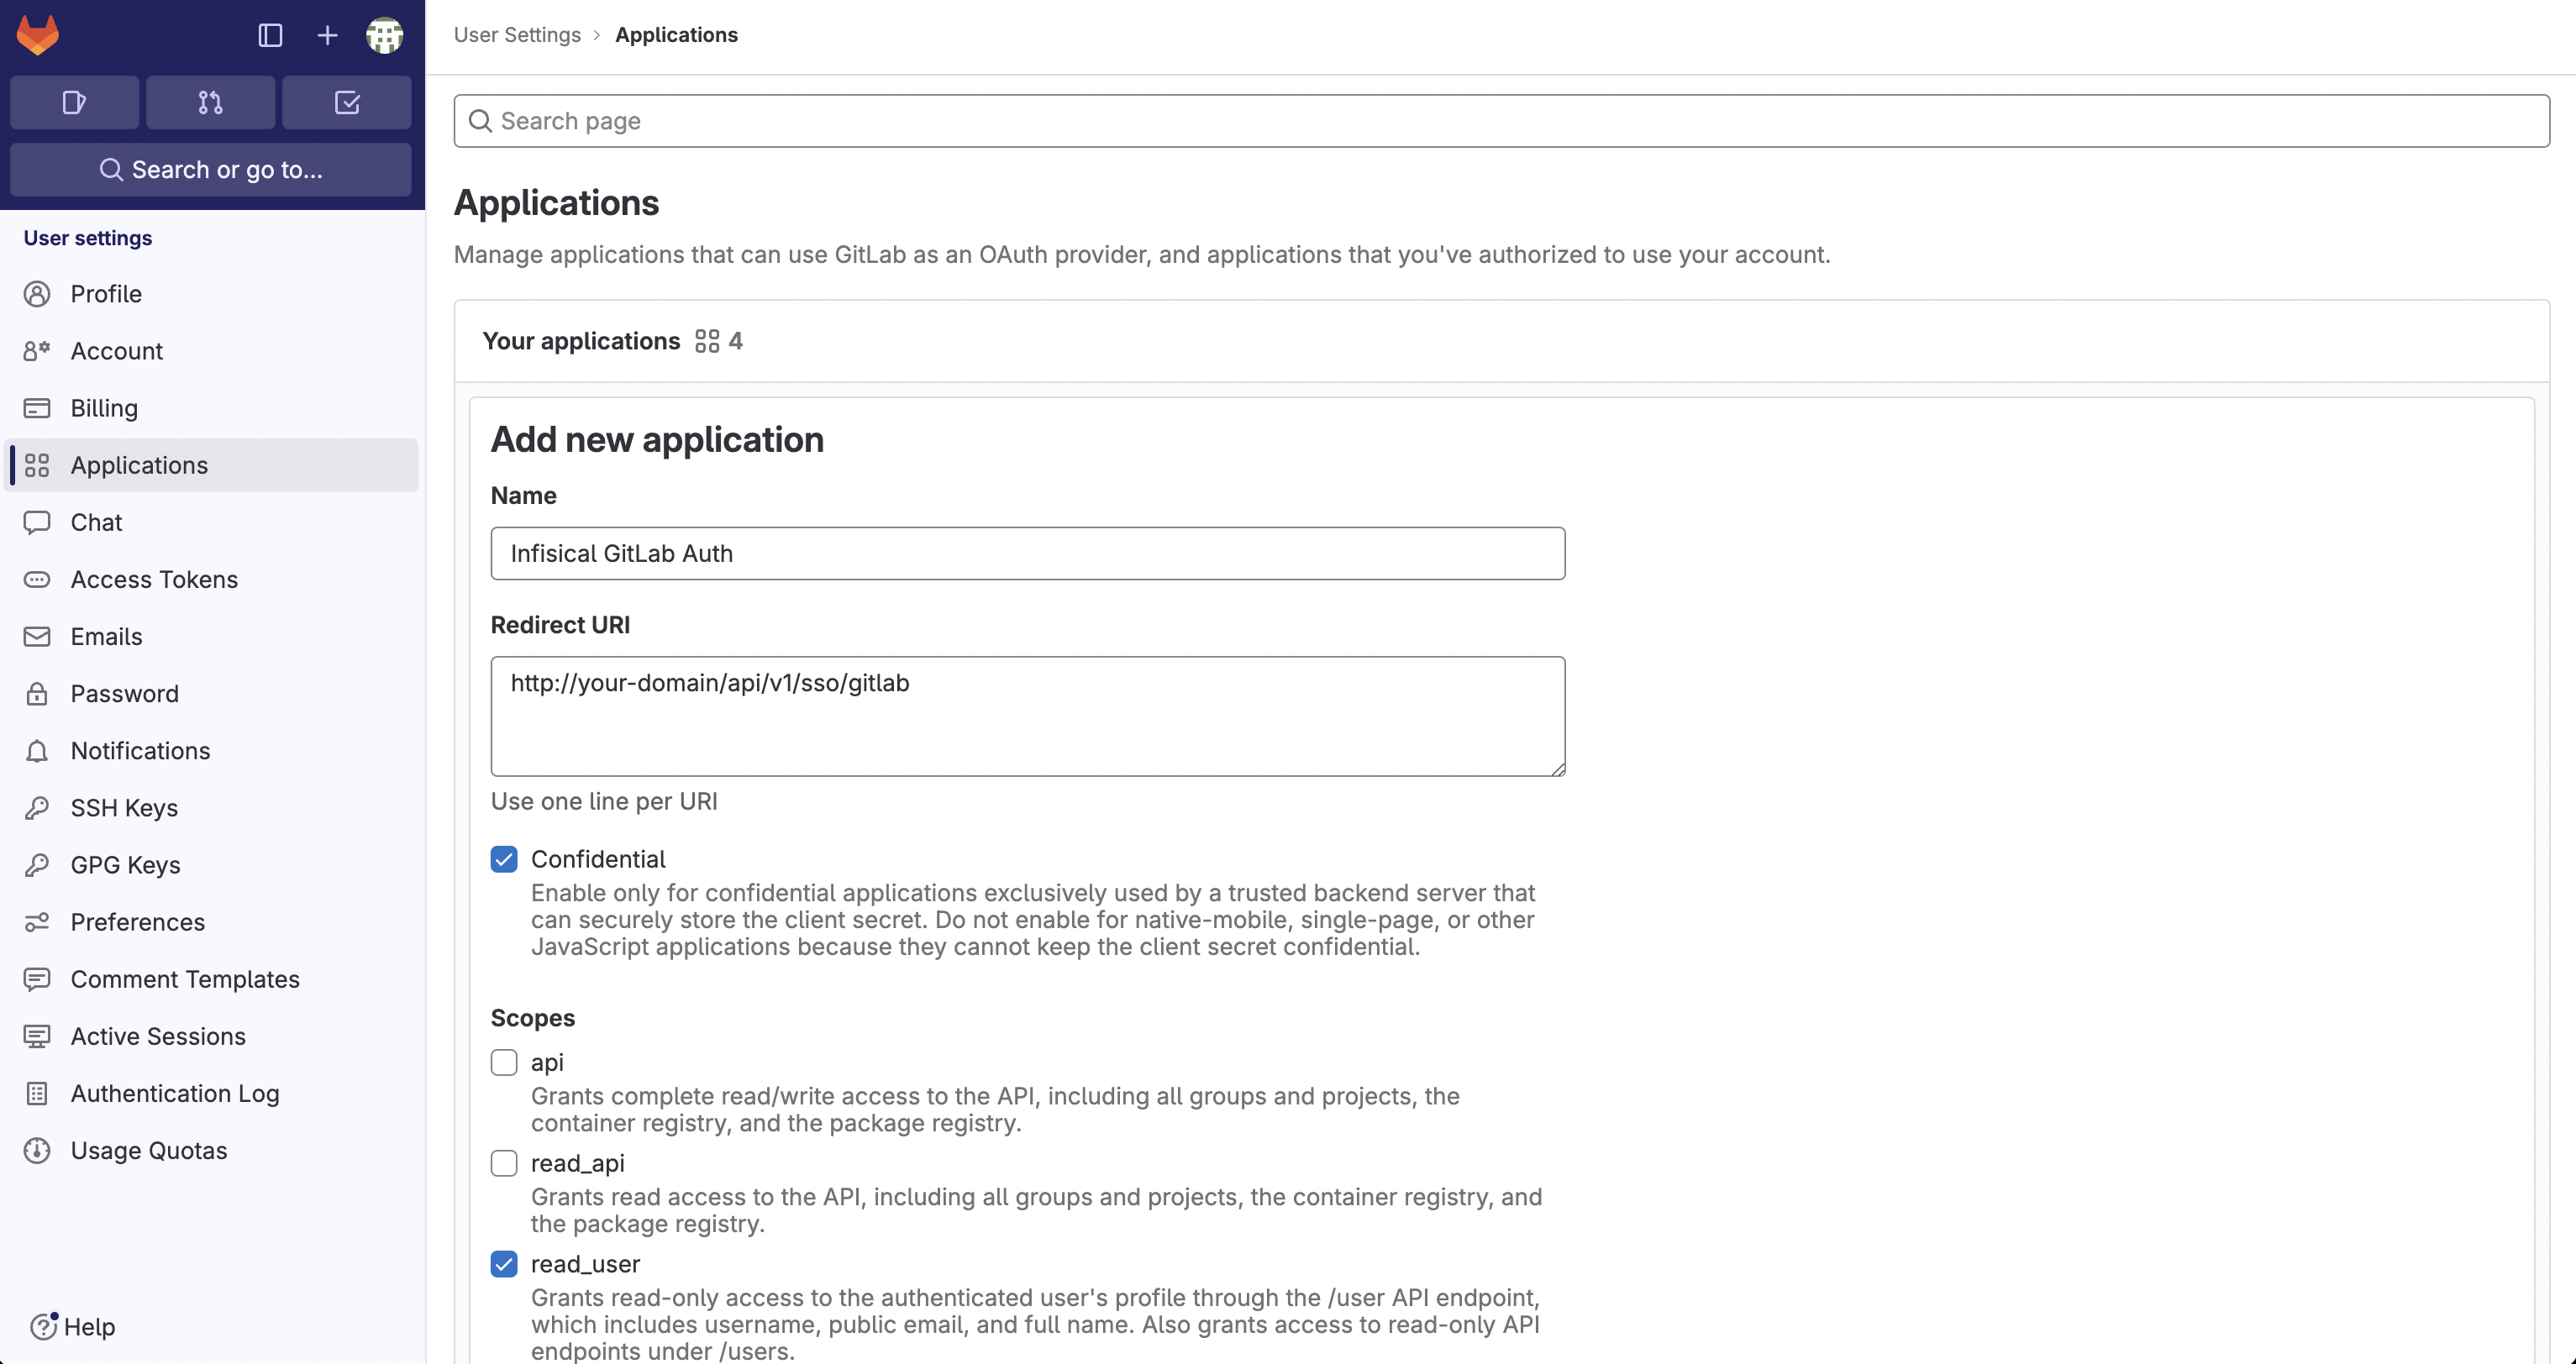
Create the application. As part of the form, set the Redirect URI to https://your-domain.com/api/v1/sso/gitlab.
Note that only read_user is required as part of the Scopes configuration.If you have a GitLab group, you can create an OAuth application under it
in your group Settings > Applications.
2
Add your OAuth application credentials to Infisical
Obtain the Application ID and Secret for your GitLab application.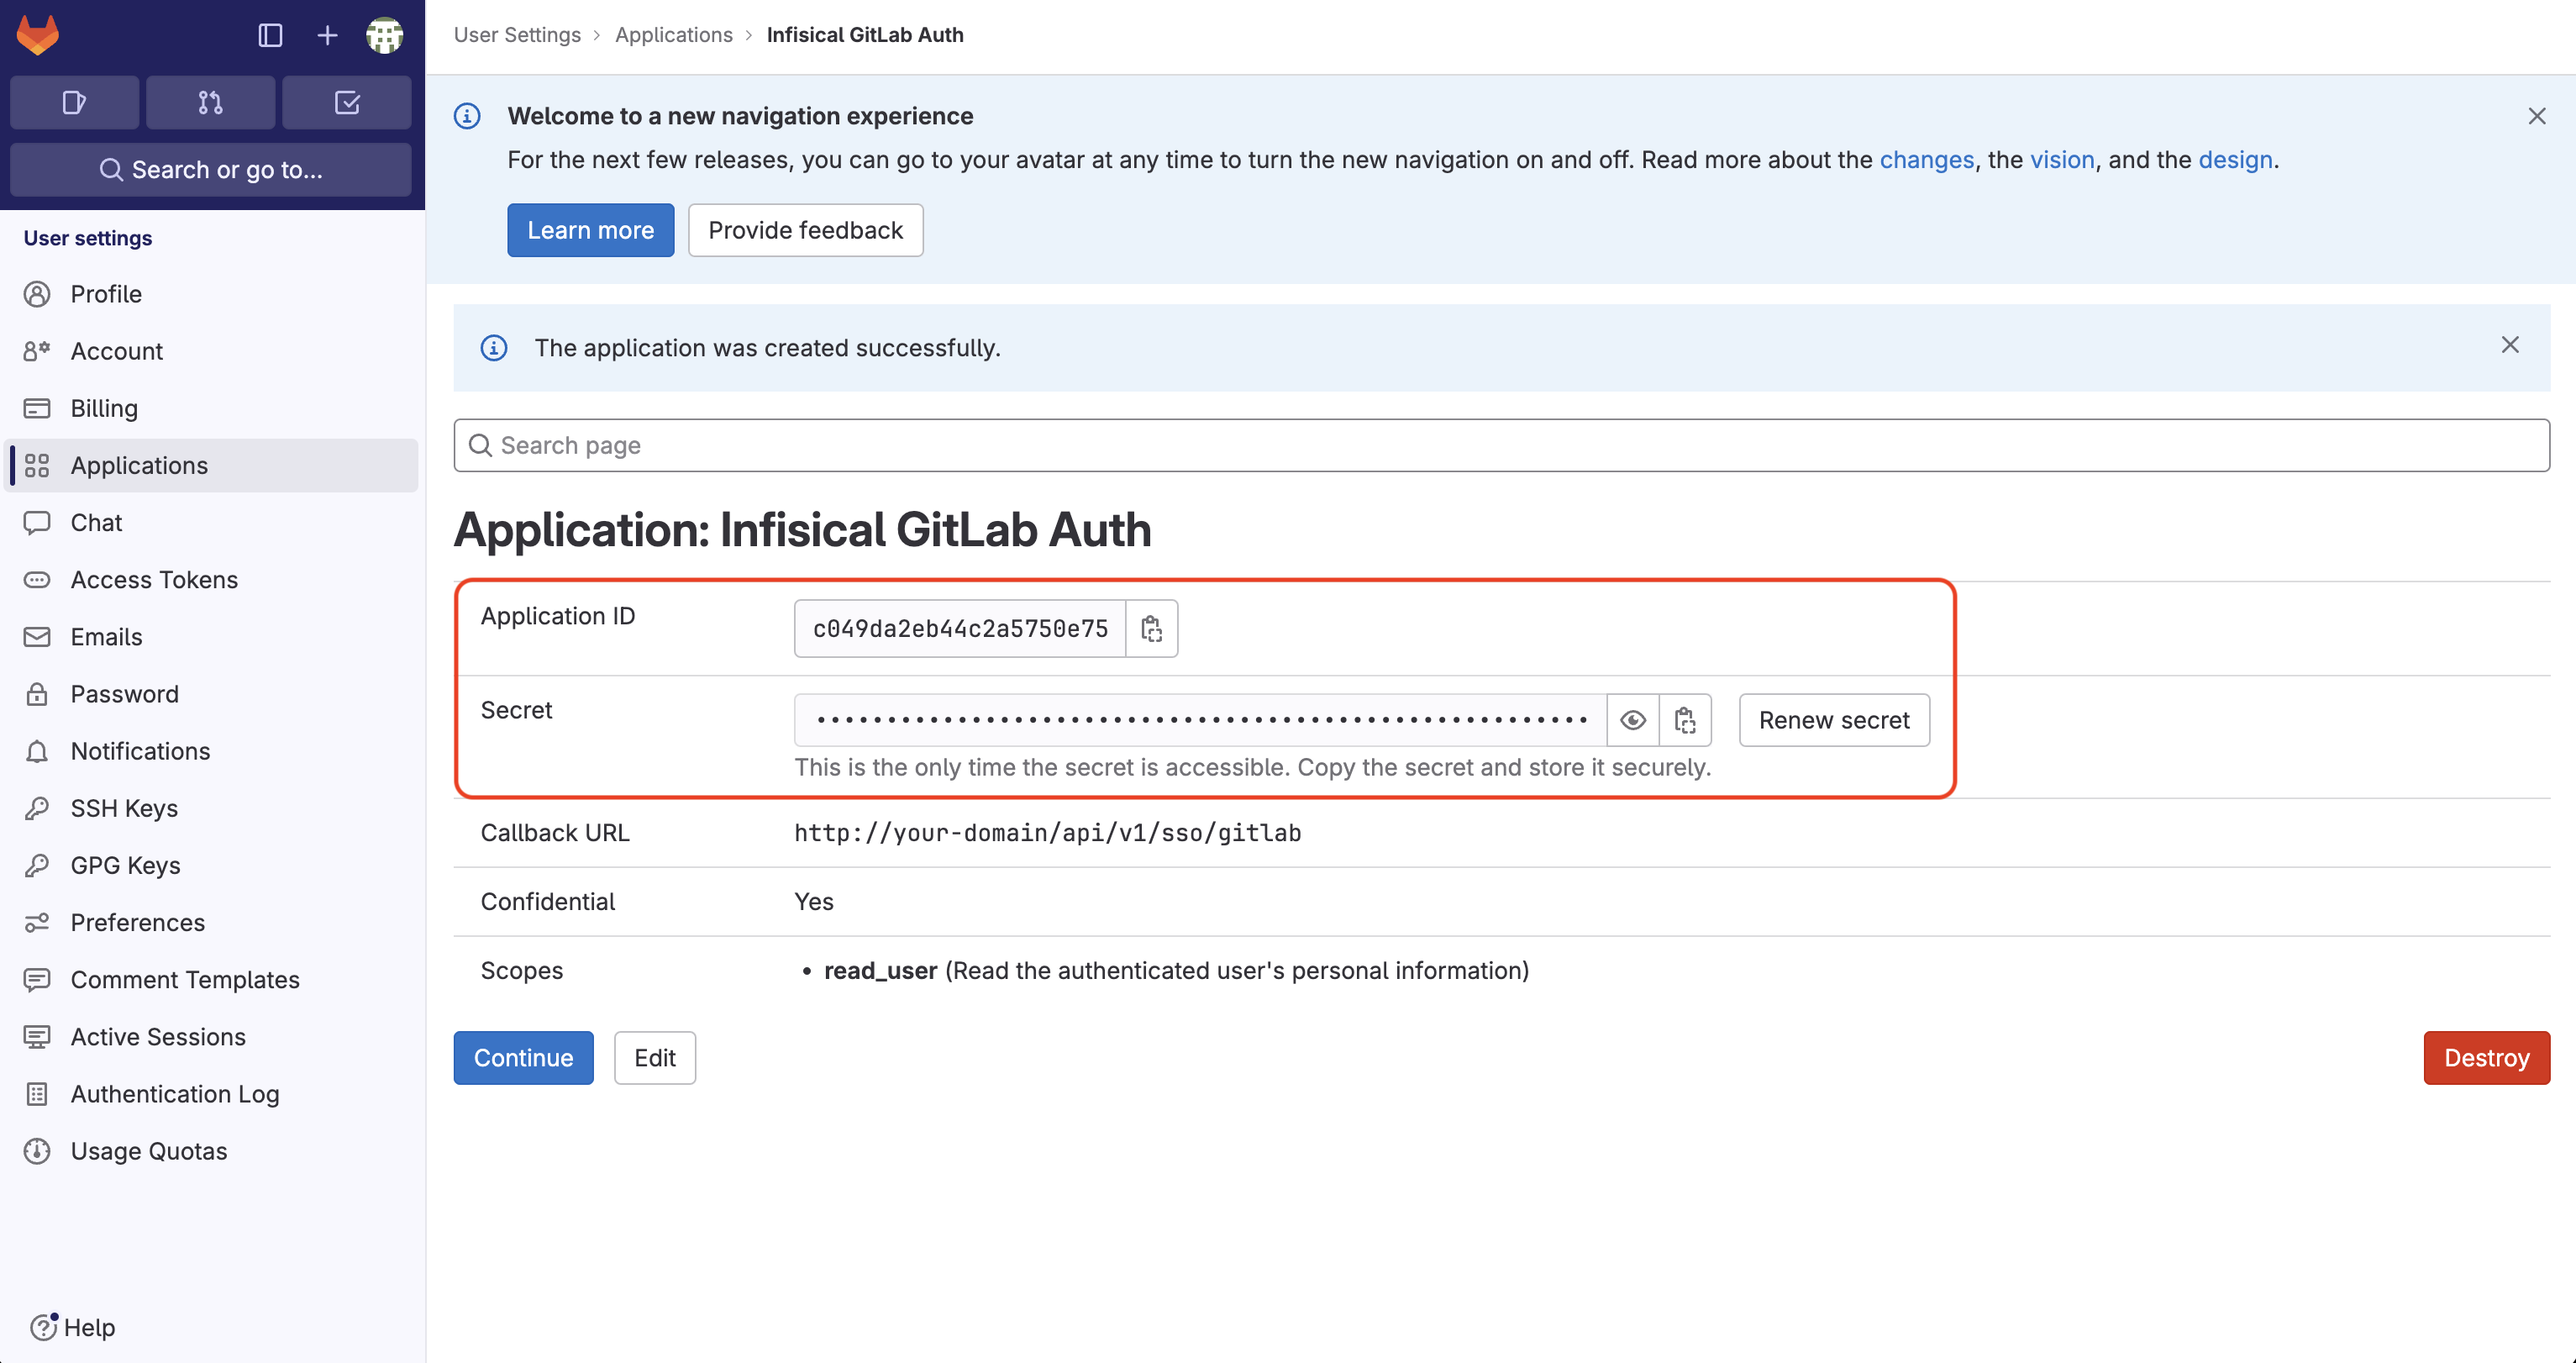 Back in your Infisical instance, make sure to set the following environment variables:
Back in your Infisical instance, make sure to set the following environment variables:CLIENT_ID_GITLAB_LOGIN: The Client ID of your GitLab application.CLIENT_SECRET_GITLAB_LOGIN: The Secret of your GitLab application.- (optional)
URL_GITLAB_LOGIN: The URL of your self-hosted instance of GitLab where the OAuth application is registered. If no URL is passed in, this will default tohttps://gitlab.com. AUTH_SECRET: A secret key used for signing and verifying JWT. This can be a random 32-byte base64 string generated withopenssl rand -base64 32.SITE_URL: The URL of your self-hosted instance of Infisical - should be an absolute URL including the protocol (e.g. https://app.infisical.com)
FAQ
Why is GitLab SSO not working?
Why is GitLab SSO not working?
It is likely that you have misconfigured your self-hosted instance of Infisical. You should:
- Check that you have set the
CLIENT_ID_GITLAB_LOGIN,CLIENT_SECRET_GITLAB_LOGIN,AUTH_SECRET, andSITE_URLenvironment variables. - Check that the Redirect URI specified in GitLab matches the
SITE_URLenvironment variable. For example, if the former ishttps://app.infisical.com/api/v1/sso/gitlabthen the latter should behttps://app.infisical.com.